Soldering Area
| Mentors | metalgamer & peter |
|---|---|
| Admission | Admission List |

Link to this page
The soldering area is located in the lab. Equipment and parts can be used freely after you have been instructed by one of the mentors.
Equipment
Equipment connected to the switchable power strip:
Battery powered equipement:
Non-powered Equipment:
Special equipement:
Components storage
We have 4 components storage boxes. You can use the components for your projects.
The left-most storage box contains connectors. Here you can find pin headers, sockets etc…. The middle one contains basic electronic components. Here you can find resistors, capacitors, diodes etc…. The right-most one containcs ICs. Here you can find sensors, Arduino-like boards, logic-level shifters, shift registers etc….
How to use the equipment
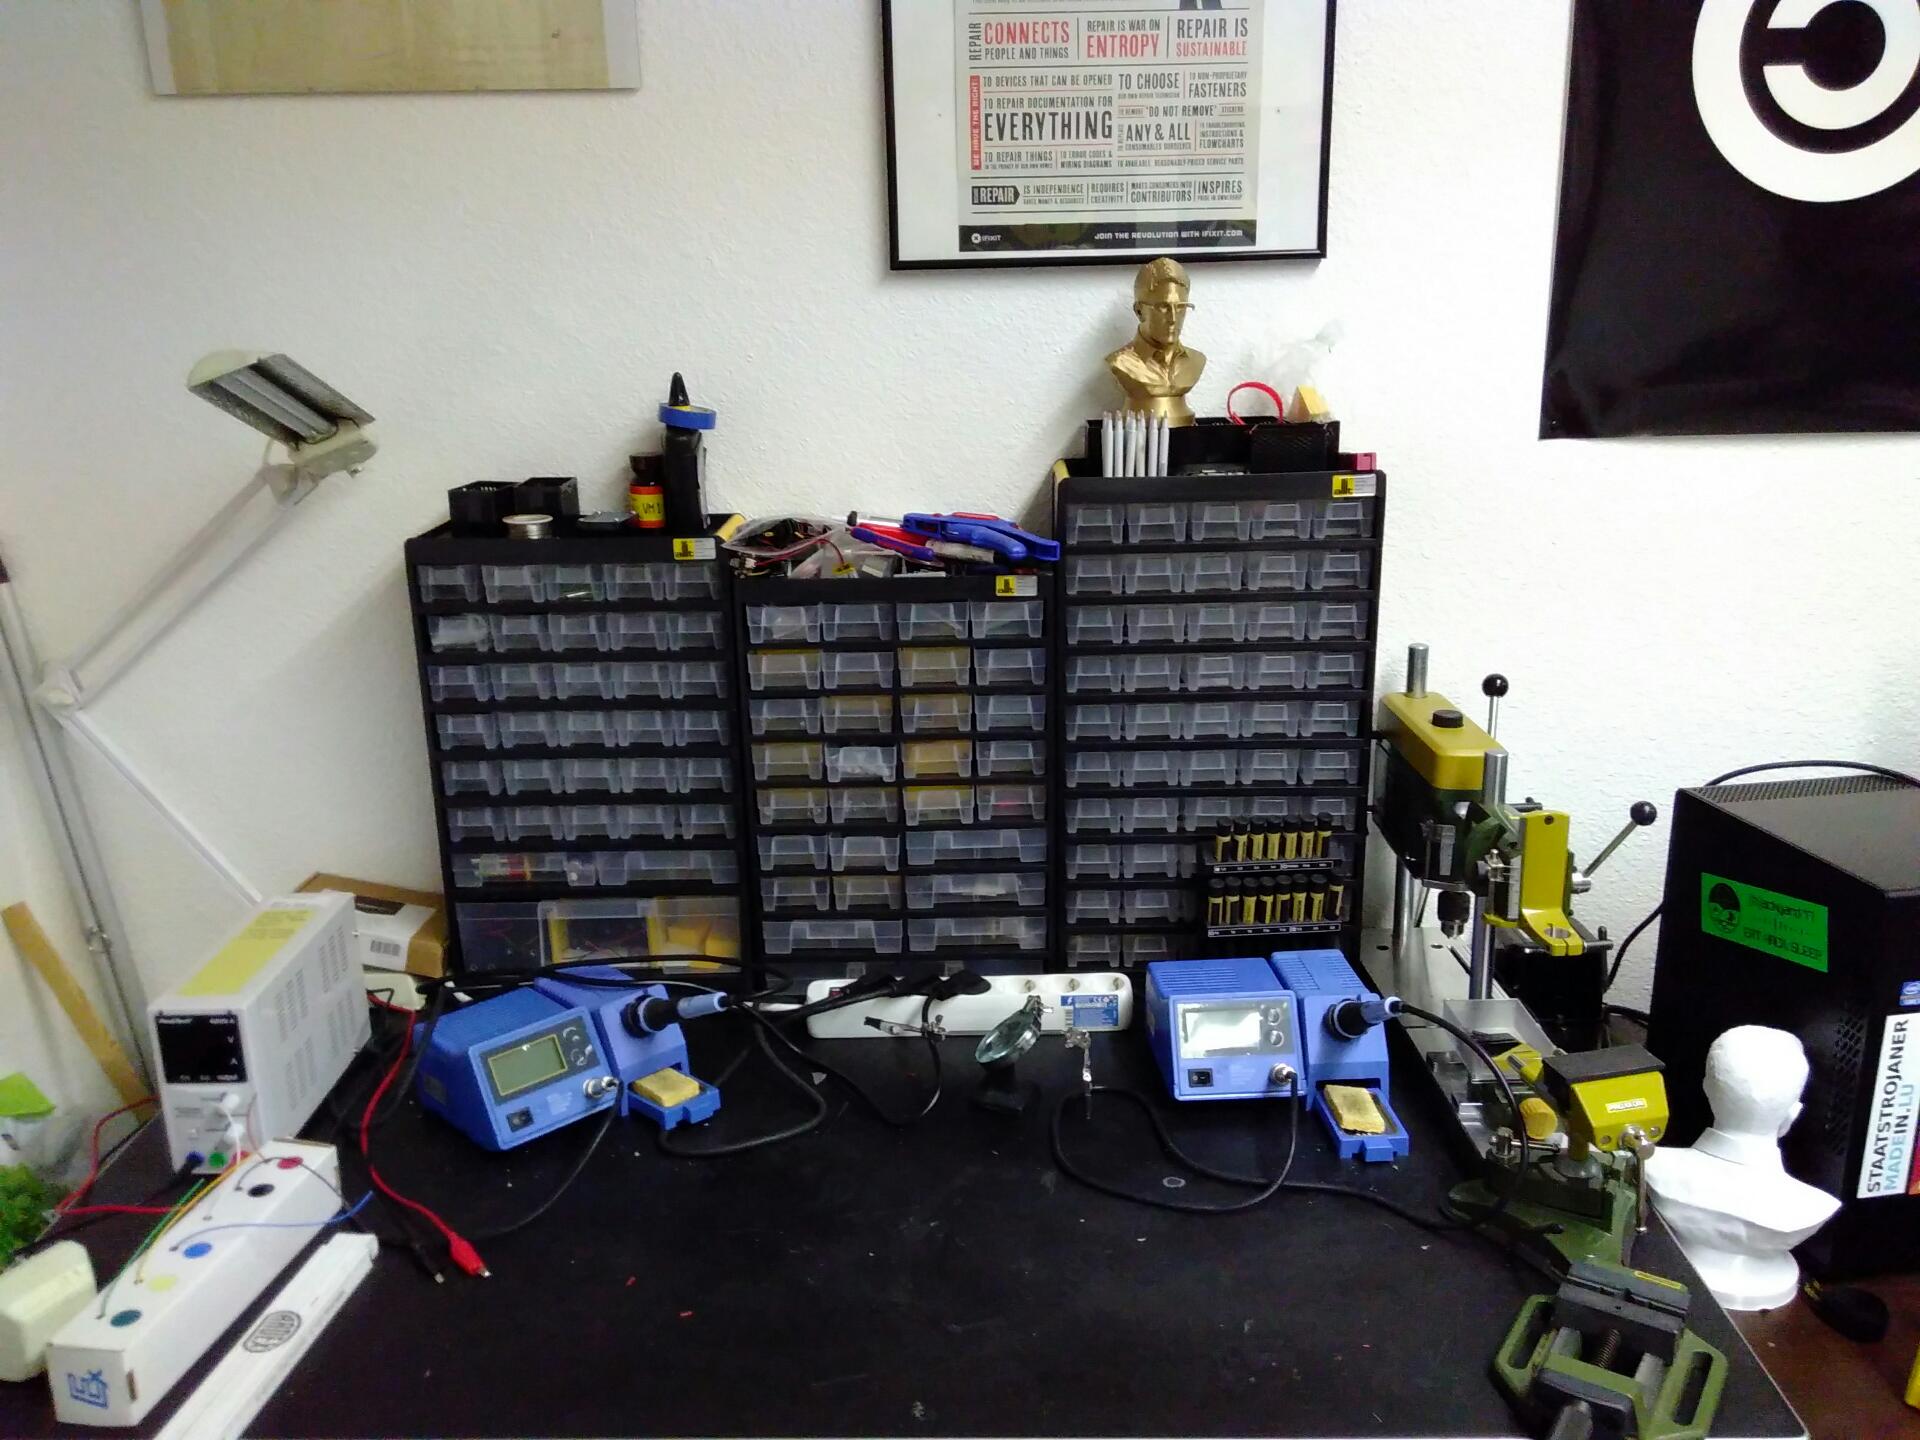
Soldering stations
Link to this section
To use the soldering stations, you need to turn it on with the switch on the front left of the device.
How to use the soldering stations:
- wet the sponge, below the soldering iron. (damp, not dripping!)
- turn on the soldering station with the switch on the front left of the device
- set the needed target temperature in °C (bottom number) (check the solder you use, if you are using the provided solder 320°C-340°C is sufficent)
- wait for it to reach the target temperature (top number)(+/- 2°C)
- put a little bit of solder on the tip of the soldering iron, then clean it on the sponge
- touch the copper part of the pcb and the metal part of the part you want to solder, while holding it touch the tip with the solder wire (the solder should flow into position)
- pull away the solder wire before pulling away the soldering iron
How to turn off the soldering stations:
- clean the tip of the soldering iron by using the sponge
- put the soldering iron into it's holder
- turn off the device by using the switch on the font left of the device
ReflowR
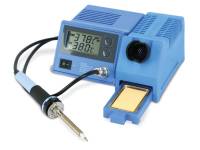
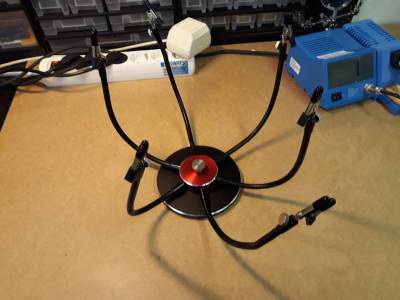
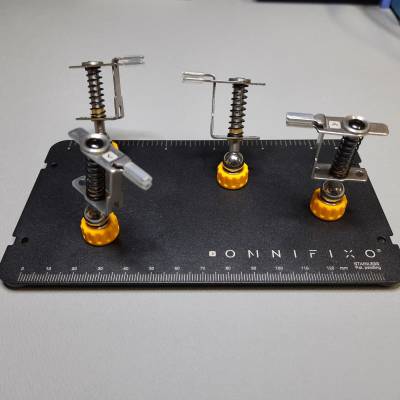
Helping Hands
Link to this section
We have different helpings hands. Please take care when using them.
DC Lab Power Supply
Link to this section
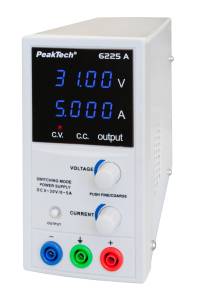
To use this lab power supply, you first have to turn it on on the back. Verify that the voltage and amperage are set to 0. The black lead goes to the blue connector on the left for the negative polarity, the red lead goes into the red connector on the right for the positive polarity.
How to use the lab power supply:
- turn on the device with the switch on the back of the device
- set the voltage you need between 0V and 30V
- set the maximum amperage you need between 0A and 5A (keep in mind that some devices can pull more than they can handle)
- connect the device you want to power
- click the small button labeled output to activate the output
- to change the voltage or amperage, it is best practice to first deactivate the output by clicking on the output button again
After having used the lab power supply:
- check that the output has been deactivated
- set voltage and amperage to 0
- power the device off with the switch on the back of the device
Tips:
- clicking the knobs will change the position of the "cursor" for voltage it will switch between 1V and 10mV and for amperage between 100mA and 1mA
- to activate keylock press and hold both knobs until the screen flashes once, to deactive do the same
- C.V. = Constant Voltage
- C.C. = Constant Current (this lights up when the current draw is at the maximum/set amperage)
- the lab power supply will not output more current than set
Multimeter
Link to this sections
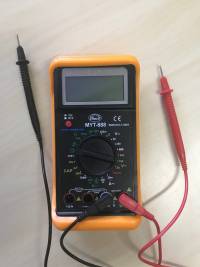
Turn on the device with the red button on the left, connect the leads to their corresponding plugs on the device. Black lead usually goes to COM.
How to use the multimeter:
How to store the multimeter:
Desoldering pump
Link to this section
Push the plunger down and press the button to release and activate the pumping mechanism.
How to use the desoldering pump:
- push the plunger down until it makes a clicking noise (it must remain in that position by itself)
- heat up the solder you want to remove
- hold the pump very close to the solder, but try to avoid touching the soldering iron (short touches are not an issue, yet best practice is to avoid it)
- press the black button to activate the pump mechanism
- remove the pump and soldering iron
- hold the pump above the soldering table (which you have to clean) or above the trashcan and push the plunger until it clicks and push it about 3-4 more times to release majority of stuck solder
How to store the desoldering pump properly:
- the plunger should not be pushed
- press the button to make sure that the internal spring is not under pressure
- put it back where you took it from
How to clean the desoldering pump:
- make sure that the plunger is not pushed
- press the button to make sure that the internal spring is not under pressure
- unscrew the tip
- slowly take out the components and remember the order
- with a dry paper towel clean the spring, the cylinder, the sealing rings, the thread and the metal rod
- use a screwdriver with a dry paper towel on its tip to clean the non reachable parts and the inside of the tip
- put everything back in reverse order you dismantled it
- try it out a few times to make sure you put it back together correctly.
Pistol wire stripper
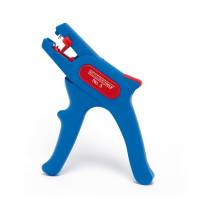
The pistol wire stripper has a locking mechanism which is the red piece on top of the tool, to use it you must first unlock it and when done it must be closed and locked to be safe for handling.
How to use the pistol wire stripper:
- Move the red slider on the front to the length you want to strip according to the provided scale
- Put the wire in the front of the tool between the sharp metal pieces until it touched the back-wall of the red slider
- Pull the trigger fast to nudify the wire
- Let go of the trigger and remove the wire
- If the isolation was only partially removed, then pull it off by hand
Small wire cutter
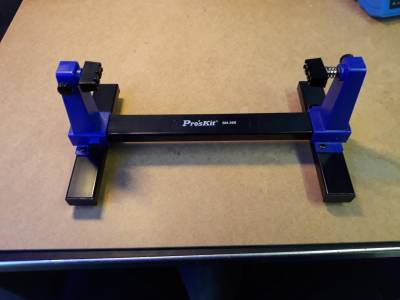
Bending Tool
Link to this section
The bending tool is segmented into different hole distances. In these segments are different spacings for different parts.
How to use the bending tool:
- measure the distance between the holes or hold the bending tool to find the correct segment to use
- place the part onto the correct segment and find the correct spacing for your part (the leads should fit in the small cutouts)
- bend the leads in a 90° angle by using your fingers
- remove the part from the bending tool
Oscilloscope
Link to this section
The Oscilloscope that we have in the space is from the 80's and is very complicated to use compared to more modern oscilloscopes. It works best with at least 60VPP.